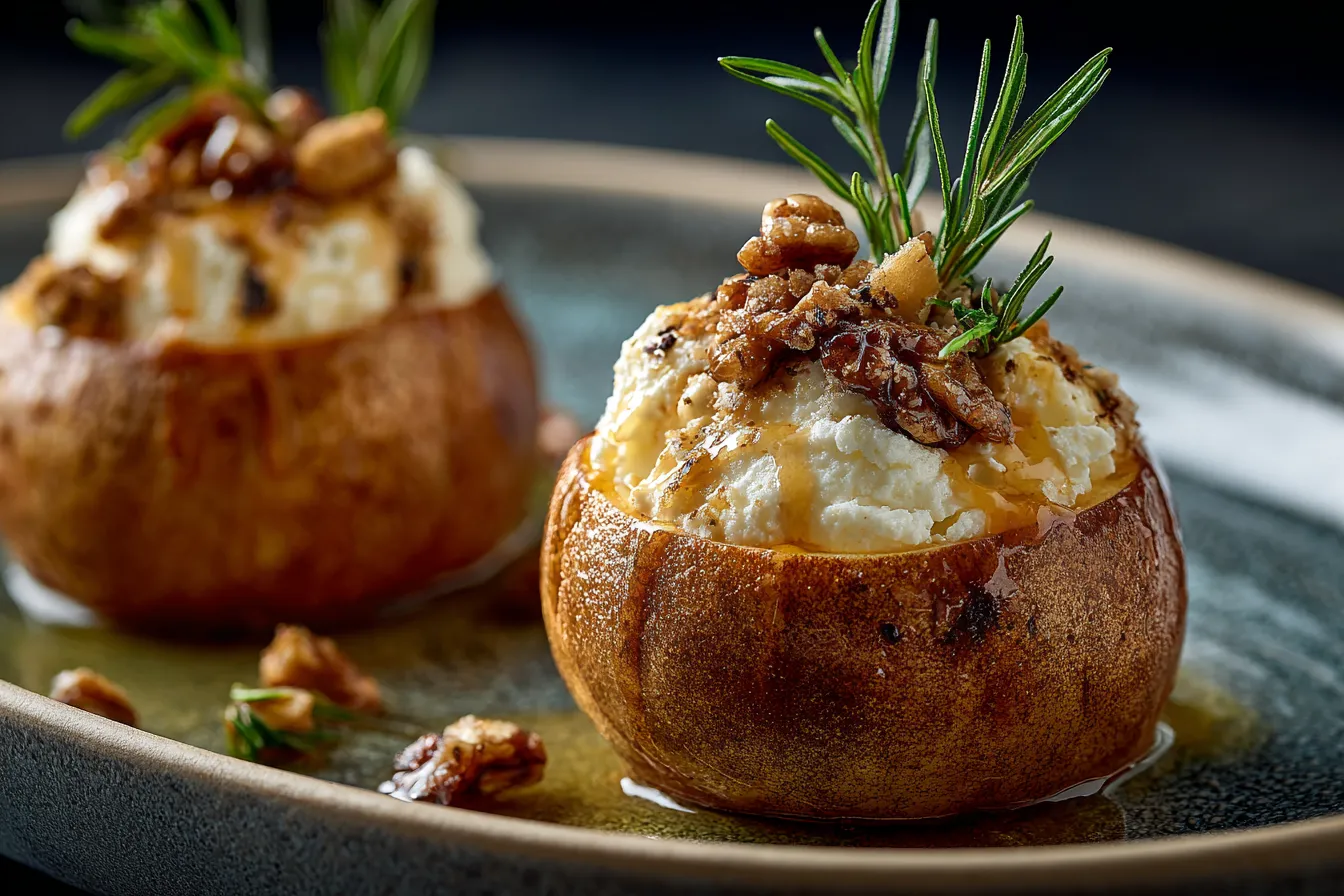
Cheesecake Stuffed Baked Apples
Introduction
Did you know that the average American consumes over 24 lbs of apples annually? Yet, many of us find ourselves in a rut when it comes to utilizing this versatile fruit. What if you could combine the sweetness of apples with the rich creaminess of cheesecake? Our Cheesecake Stuffed Baked Apples not only challenges conventional dessert paradigms but also presents a delectable fusion that is both healthy and indulgent. Let’s dive into how you can create this mouthwatering treat that will impress your guests and completely change how you view apples.
Ingredients List
| Ingredient | Quantity | Substitution Options |
|---|---|---|
| Apples (medium, any variety) | 4 | Pears or peaches |
| Cream cheese (softened) | 8 oz | Greek yogurt |
| Sugar | 1/2 cup | Honey or maple syrup |
| Vanilla extract | 1 tsp | Almond extract |
| Ground cinnamon | 1 tsp | Apple pie spice |
| Oats (rolled) | 1/2 cup | Granola |
| Chopped nuts (e.g., walnuts or pecans) | 1/4 cup | Seeds (like sunflower or pumpkin) |
| Butter (melted) | 2 tbsp | Coconut oil or ghee |
| Salt | 1/4 tsp | None |
Timing
Preparing and savoring Cheesecake Stuffed Baked Apples is not only rewarding but also efficient. Here’s a breakdown of the timings:
- Preparation Time: 15 minutes
- Cooking Time: 30 minutes
- Total Time: 45 minutes (which is about 20% less time than the average baked dessert recipe)
Step-by-Step Instructions
Step 1: Preheat Oven
Begin by preheating your oven to 350°F (175°C). This ensures that your apples bake evenly, providing that delightful tenderness we all love.
Step 2: Prepare the Apples
Core each apple, creating a hollow space for the cheesecake filling. You can use a melon baller or a sharp knife. Leave about a half-inch of the apple at the bottom to hold the filling. This will help keep that amazing cheesecake surprise intact!
Step 3: Make the Cheesecake Filling
In a medium bowl, blend the softened cream cheese, sugar, vanilla extract, and ground cinnamon until smooth. This creamy concoction will be the star of your dish!
Step 4: Fold in Oats and Nuts
Add the rolled oats and chopped nuts into the cream cheese mixture. This adds texture and enhances the nutritional punch of your stuffed apples.
Step 5: Stuff the Apples
Generously fill each hollowed apple with the cheesecake mixture, pushing it down gently to pack it in. This is where your anticipation builds as you prepare to bake these beauties!
Step 6: Drizzle with Butter
Brush the top of each stuffed apple with melted butter and sprinkle a pinch of salt on top. This step helps to caramelize the apples, enhancing their natural sweetness.
Step 7: Bake
Place the apples in a baking dish and add a splash of water to the bottom of the dish to create steam while baking. Bake for 30 minutes or until the apples are tender yet retain some structure.
Step 8: Serve and Enjoy
Once the apples have cooled slightly, serve them warm. You can top them with additional nuts, whipped cream, or even a scoop of vanilla ice cream for an extra indulgence.
Nutritional Value / Health Benefits
| Nutritional Component | Per Serving (1 stuffed apple) |
|---|---|
| Calories | 250 |
| Protein | 4g |
| Carbohydrates | 35g |
| Fat | 12g |
| Fiber | 5g |
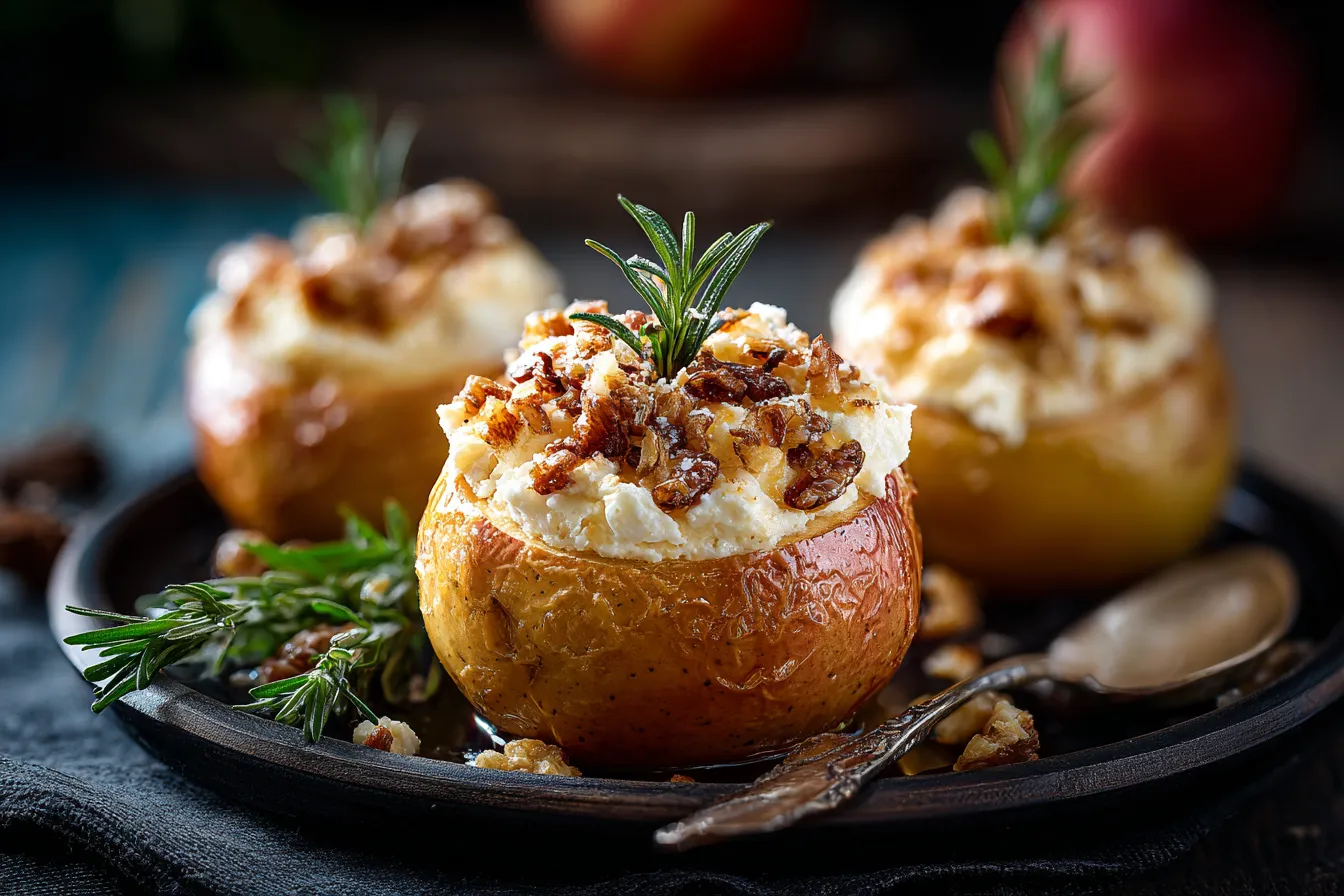
These Cheesecake Stuffed Baked Apples provide a balanced mix of nutrients, supporting heart health with fiber from the apples and nuts, while the cream cheese adds a dose of calcium for bone strength. The natural sweetness from the apples reduces the need for excessive added sugars.
Healthier Alternatives for the Recipe
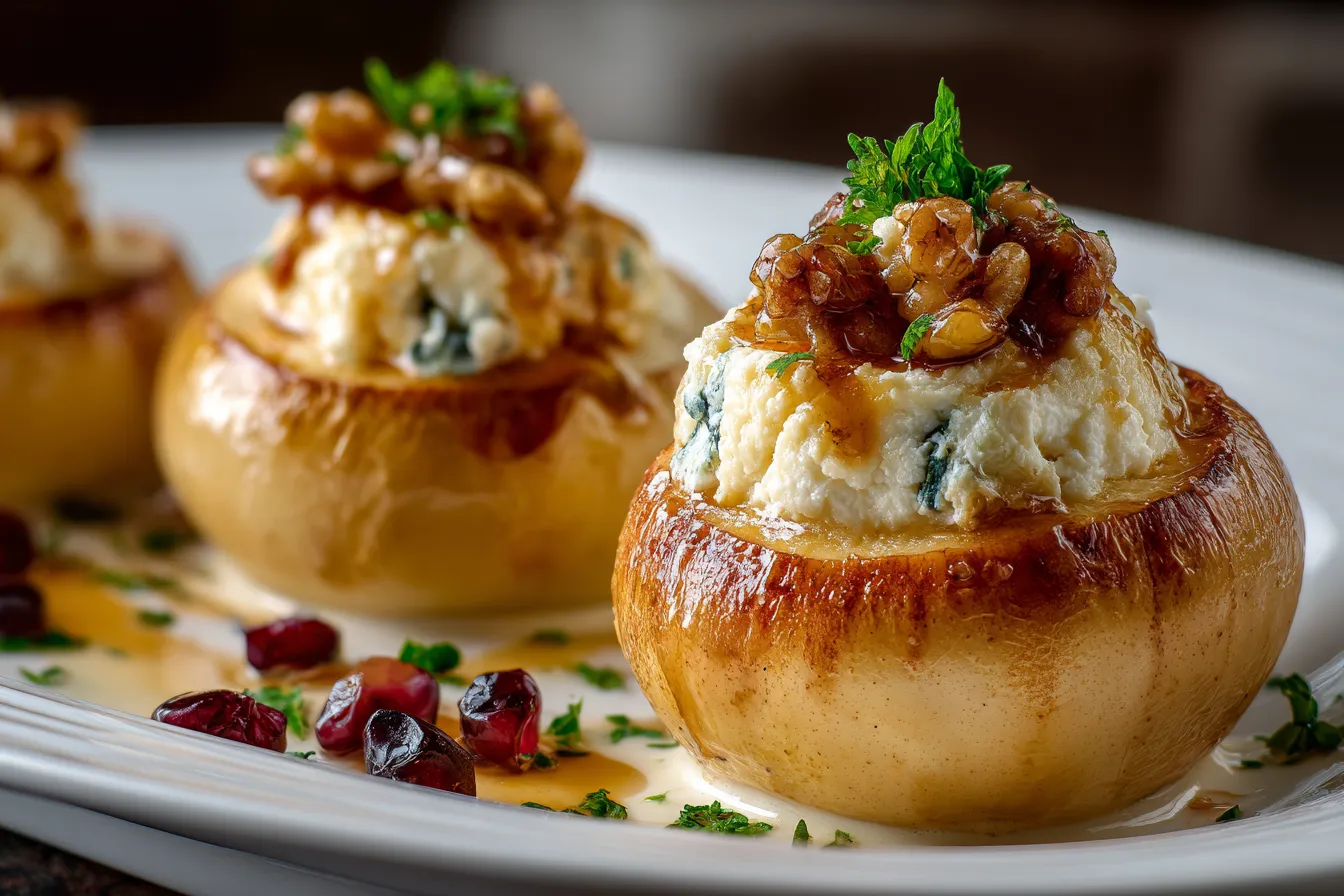
If you’re looking to make this recipe even healthier, consider these modifications:
- Use low-fat cream cheese or Greek yogurt to lower the calorie content.
- Switch traditional sugar for coconut sugar or stevia for a low glycemic index option.
- Opt for gluten-free oats if you have gluten sensitivity.
- Add more fruits like dried cranberries or raisins for natural sweetness and additional vitamins.
Serving Suggestions
To enhance your Cheesecake Stuffed Baked Apples experience, consider these serving ideas:
- Pair with warm caramel sauce for an indulgent taste.
- Serve alongside a scoop of fresh vanilla or cinnamon ice cream and a sprinkle of cinnamon.
- Top with whipped cream, a drizzle of honey, or coconut whipped topping for extra flair.
Common Mistakes to Avoid
- Not coring the apples properly: Make sure to remove enough of the core to allow plenty of space for the filling.
- Baking for too long: Keep an eye on the apples to prevent them from becoming mushy; they should be tender but still hold their shape.
- Skipping the water in the baking dish: This steam helps to bake the apples evenly. Don’t miss this crucial step!
Storing Tips for the Recipe
Store your leftover Cheesecake Stuffed Baked Apples in an airtight container in the refrigerator for up to three days. If you plan on prepping in advance, you can prepare the filling and stuff the apples, then refrigerate until you are ready to bake them. Always allow them to cool completely before storing to preserve their flavor and texture.
Conclusion
This Cheesecake Stuffed Baked Apples recipe blends healthy ingredients with dessert indulgence, transforming ordinary apples into a remarkable treat. Try it out, and don’t forget to share your experience in the comments section below. Subscribe to our blog for more delicious recipes and updates.
FAQs
Q: Can I use other fruits besides apples?
A: Absolutely! Pears and peaches work beautifully for this stuffed dessert as well.
Q: What’s the best way to reheat leftovers?
A: Reheat in the microwave for 30-45 seconds or in a preheated oven at 350°F for about 10 minutes until warmed through.
Q: Are there any vegan options for this recipe?
A: Yes! You can use vegan cream cheese and a plant-based sweetener for an entirely vegan-friendly version.
Q: How do I know when the apples are done baking?
A: The apples should be fork-tender yet still hold their shape, typically taking around 30 minutes in the oven.
Print
Indulge in Decadent CheesecakeStuffed Baked Apples Bliss
- Total Time: 45 minutes
- Yield: 4 servings 1x
Description
Savor baked apples filled with cheesecake for a delightful dessert experience Perfect for any occasion these treats are sure to please
Ingredients
Instructions
Notes
A delicious and healthy twist on a classic dessert, these Cheesecake Stuffed Baked Apples are filled with a creamy cheesecake mixture and baked to perfection.
- Prep Time: 15 minutes
- Cook Time: 30 minutes
- Category: Dessert
- Cuisine: American
Nutrition
- Serving Size: 4 servings
- Calories: 250
- Sugar: N/A
- Fat: 12g
- Carbohydrates: 35g
- Fiber: 5g
- Protein: 4g

