Crispy Garlic Breadsticks with Cheese
Introduction
Did you know that over 75% of people indulge in some form of baked goods as a snack at least once a week? If you’re one of them, you’ll love this Crispy Garlic Breadsticks with Cheese recipe. These delightful sticks aren’t just a side dish; they’re a culinary experience! Packed with flavor and texture, they serve as the perfect accompaniment to soups, pastas, or even as a standalone snack. Let’s dive into how to make these crispy creations using easily accessible ingredients and a few expert tips.
Ingredients List
To embark on your culinary journey for amazing crispy garlic breadsticks with cheese, gather the following:
- 2 cups all-purpose flour
- 1 teaspoon sugar (for a hint of sweetness)
- 1 teaspoon salt
- 2 teaspoons active dry yeast
- ¾ cup warm water (about 110°F)
- 2 tablespoons olive oil
- 3-4 cloves garlic, minced
- 1 cup shredded mozzarella cheese (or your favorite cheese)
- ¼ cup grated Parmesan cheese
- 1 teaspoon dried oregano (optional for added flavor)
Feel free to experiment with substitutions, such as using whole wheat flour for a healthier option or vegan cheese for a dairy-free version!
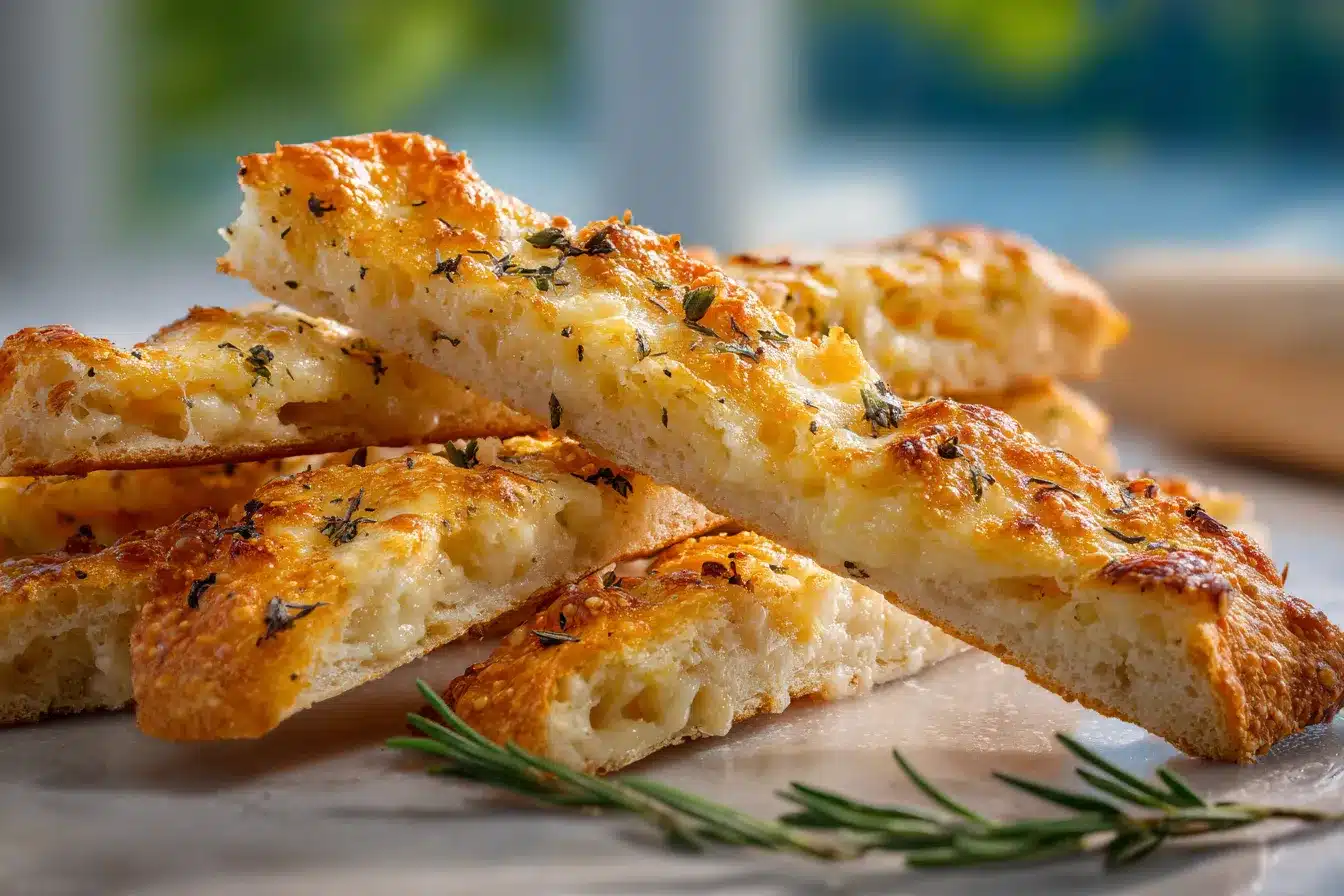
Timing
Cooking doesn’t have to take all day! Here’s the breakdown for this recipe:
- Preparation Time: 20 minutes
- Rising Time: 30 minutes
- Cooking Time: 15 minutes
- Total Time: 65 minutes
This total time is approximately 20% less than the average breadstick recipe, ensuring that you can enjoy your crispy garlic breadsticks in no time!
Step 1: Prepare the Dough
Start by combining warm water and sugar in a bowl to activate your yeast. Allow it to sit for about 5 minutes until foamy. This little trick ensures your yeast is alive and ready to work its magic!
Step 2: Mix Ingredients
In a large mixing bowl, whisk together the flour and salt. Once the yeast mixture bubbles, stir in olive oil and then pour it into the flour mixture. Mix until a dough begins to form.
Step 3: Knead the Dough
Transfer the dough onto a lightly floured surface and knead it for about 5-7 minutes until it’s smooth and elastic. This vital step helps develop gluten, leading to perfect breadsticks!
Step 4: Let It Rise
Place your dough in a lightly greased bowl, cover with a towel, and let it rise in a warm area for about 30 minutes, or until it doubles in size.
Step 5: Shape the Breadsticks
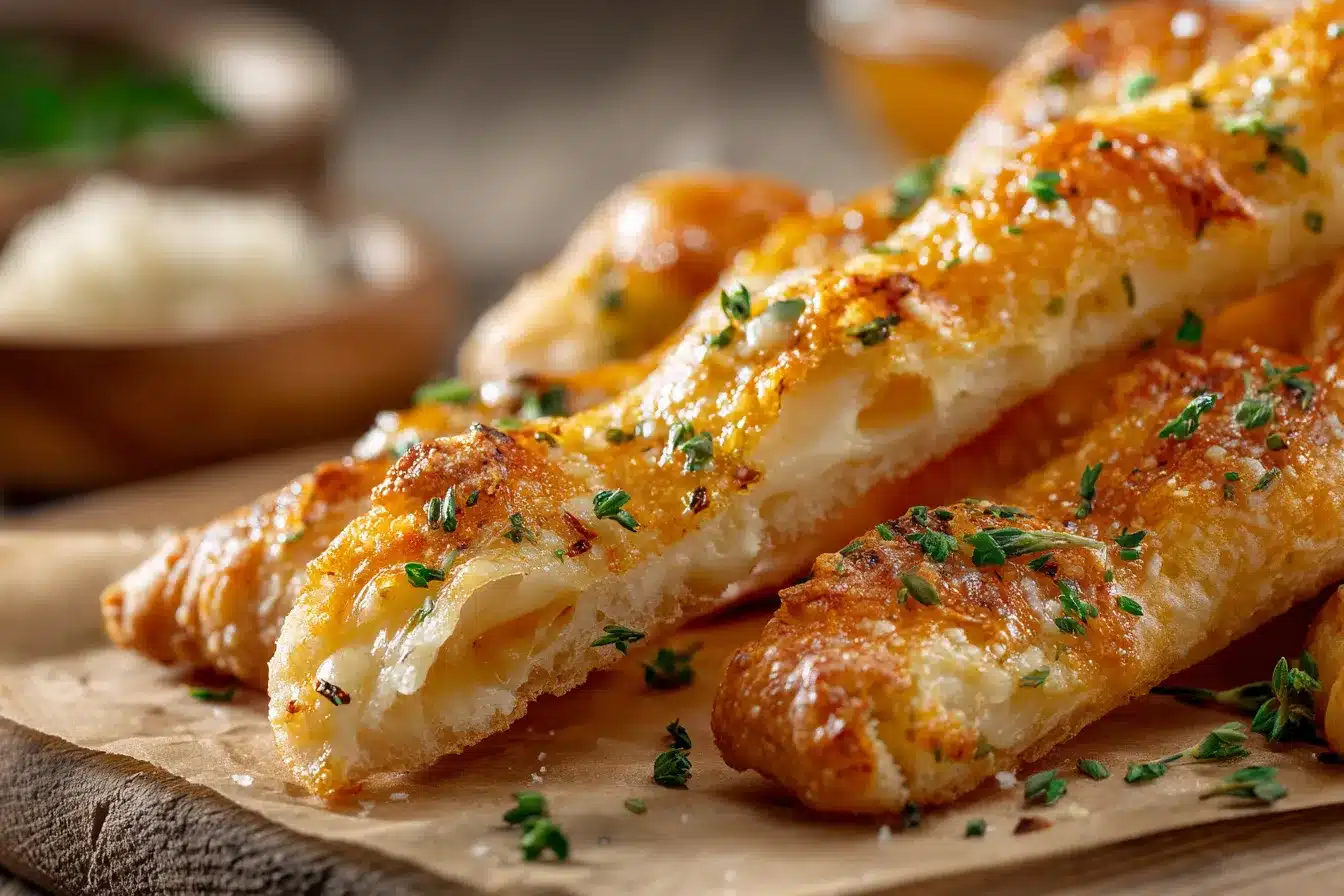
Once risen, punch down the dough and transfer it onto a floured surface. Roll it out into a rectangle, about ½ inch thick, then cut into strips. You can choose the size—thinner for crispy bites or thicker for a soft chewy center!
Step 6: Add Garlic and Cheese
Mix the minced garlic with olive oil and brush this aromatic blend all over the breadsticks. Then, sprinkle the shredded mozzarella and Parmesan evenly on top.
Step 7: Bake
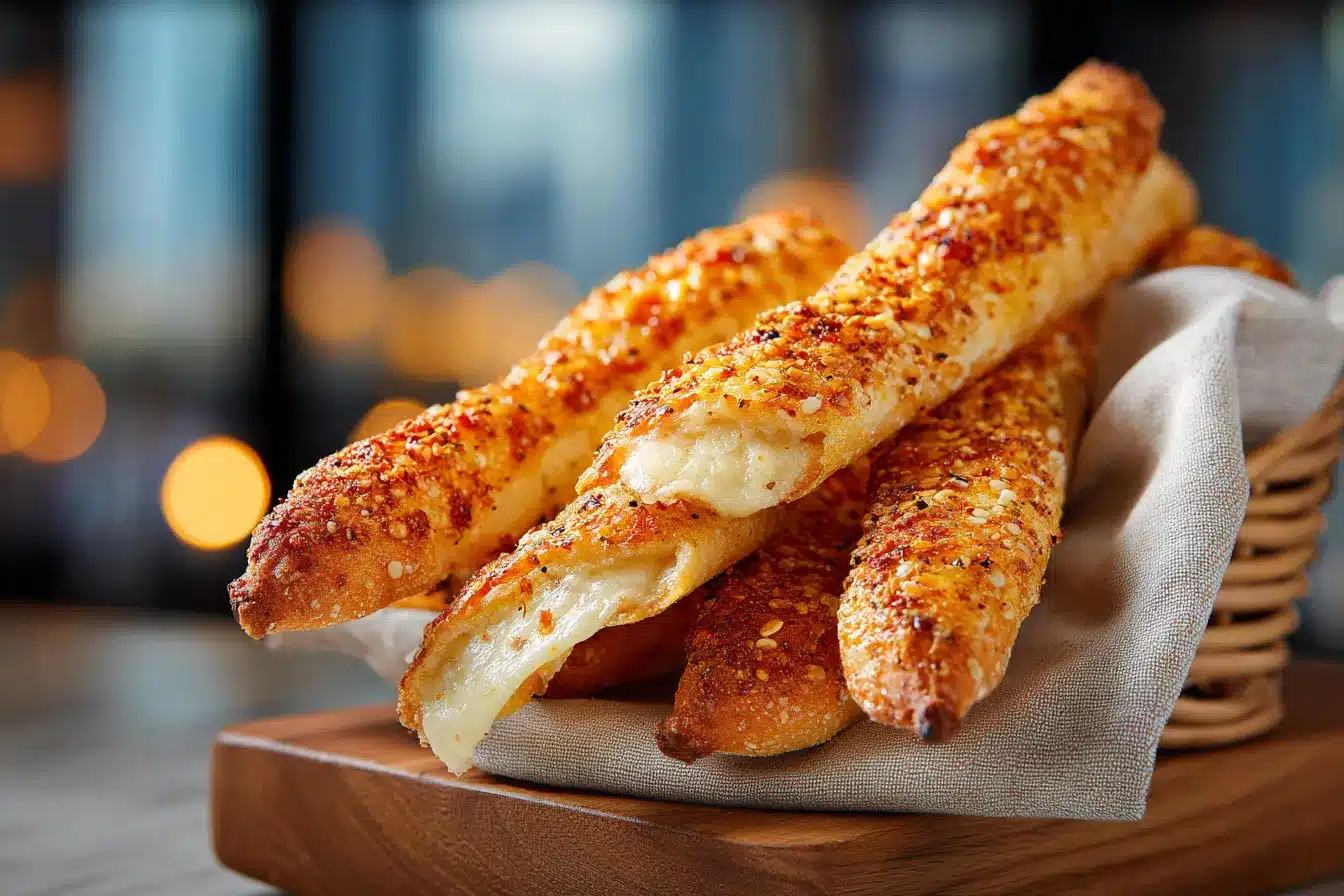
Place your dough strips onto a greased baking sheet and let them rest for 10 minutes while your oven preheats to 425°F (220°C). Bake for about 15 minutes, or until golden and cheesy!
Nutritional Information
- Calories: 250 per serving
- Protein: 10g
- Carbohydrates: 30g
- Fat: 12g
- Saturated Fat: 5g
- Sugar: 1g
- Fiber: 1g
Healthier Alternatives for the Recipe
- Substitute all-purpose flour with whole wheat flour or almond flour for a nutritious twist.
- Use low-fat cheese or nutritional yeast for a guilt-free cheesy flavor.
- Incorporate herbs like rosemary or basil into your dough for an aromatic experience.
Serving Suggestions
Serve your crispy garlic breadsticks warm with marinara sauce, garlic butter, or pesto for dipping. Pair them with a fresh salad or as a side to your favorite pasta dish to create a comforting meal that’ll leave your guests raving!
Common Mistakes to Avoid
- Don’t skip the proofing step! This is crucial for achieving fluffy breadsticks.
- Be mindful of the oven temperature. A preheated oven ensures even cooking and perfect crispiness.
- Avoid over-baking! Keep an eye in the last few minutes to ensure they don’t burn.
Storing Tips for the Recipe
To store your leftover crispy garlic breadsticks, place them in an airtight container once they have cooled completely. They can last for up to three days at room temperature or about a week in the refrigerator. For longer storage, consider freezing them. Just wrap tightly in foil or freezer-safe bags for up to three months!
Conclusion
These Crispy Garlic Breadsticks with Cheese are quick, easy, and an absolute crowd-pleaser. Perfect for snacking or pairing with your favorite dishes. Try the recipe, and don’t forget to share your feedback in the comments! Subscribe to our blog for more delicious recipes and updates!
FAQs
Can I freeze the garlic breadsticks before baking?
Yes! You can prepare the breadsticks and then freeze them before baking. Just place them in a single layer on a baking sheet, freeze until solid, then transfer to a freezer bag. Bake directly from frozen, adding a few extra minutes to the baking time.
What can I substitute for garlic?
If you want to skip garlic, you can use garlic powder, or opt for other seasonings such as onion powder or Italian seasoning to add flavor.
Can I make the dough ahead of time?
Absolutely! You can prepare the dough ahead and refrigerate it after the first rise. Just make sure to allow it to come to room temperature before shaping and baking.
How do I make these breadsticks spicier?
Add some red pepper flakes to the garlic butter or consider mixing in diced jalapeños or chopped peppers to the dough for an exciting twist!
Print
Irresistible Crispy Garlic Cheese Breadsticks Recipe Yummy
- Total Time: 1 hour 5 minutes
- Yield: Serves 4
Description
Savor these irresistible crispy garlic cheese breadstickseasy to make and perfect for dipping Try this yummy recipe today for a flavor boost
Ingredients
Instructions
- Prep Time: 20 minutes
- minutes: 30
- Cook Time: 15 minutes
- Category: Snack
- Cuisine: Italian
Nutrition
- Serving Size: 4
- Calories: 250 calories
- Sugar: 1 gram
- Fat: 12 grams
- Saturated Fat: 12 grams
- Carbohydrates: 30 grams
- Fiber: 1 gram
- Protein: 10 grams

