DIY Coffin Sandwiches Kids Will Love
Introduction
Have you ever wondered how to create a spooky yet delicious meal that your kids will actually enjoy? Halloween-themed food doesn’t always have to be daunting or unappetizing. Enter the DIY Coffin Sandwiches: a creative culinary adventure that transforms ordinary lunch items into an eye-catching feast your kids will love. Packed with flavor and fun, these coffin-shaped sandwiches will captivate even the pickiest eaters. Let’s explore how to make this unique recipe that’s perfect for Halloween parties, school lunches, or just an exciting meal at home!

Ingredients List
To make your DIY Coffin Sandwiches, gather the following ingredients:
- Bread: 8 slices of your choice (whole wheat, white, or gluten-free)
- Spread: 4 tablespoons of cream cheese or hummus (for a creamy texture)
- Fillings: Choose from turkey, ham, cheese, or roasted veggies
- Vegetables: Lettuce, tomatoes, and bell peppers (for added crunch)
- Decor: Edible markers or nori sheets for added detailing
- Cookie cutter: Coffin-shaped or any fun shape of your choice
Feel free to swap ingredients based on your dietary preferences. For example, explore vegan cheese for a dairy-free option or whole grain bread for a healthier twist.
Timing
This whimsical treat takes approximately 30 minutes from start to finish, which is around 20% less time than the average themed recipe. Breakdown of your time:
- Preparation: 15 minutes
- Assembly: 10 minutes
- Decorating: 5 minutes
This quick prep time makes it perfect for busy weekdays or spontaneous fun!
Step 1: Prepare Your Ingredients
Start by gathering your ingredients. If you’re using multiple fillings, slice them into thin strips or bite-sized pieces. This makes it easier to layer inside your sandwiches.
Step 2: Shape the Bread
Use your coffin-shaped cookie cutter to cut out the bread. If you don’t have a coffin-shaped cutter, feel free to utilize any fun shape you have, such as ghosts or pumpkins!
Step 3: Spread and Layer
Evenly spread cream cheese or hummus on one side of each bread piece. Layer your chosen fillings on half of the slices. Add vegetables like crisp lettuce and juicy tomato slices for extra flavor and nutrition.
Step 4: Assemble the Sandwiches
Top each filling layer with another slice of bread, spread side down, to complete your sandwiches. For a fun twist, cut the sandwiches into halves or quarters after assembling.
Step 5: Decorate
Using edible markers or nori sheets, draw spooky faces or designs on the outside of your coffin sandwiches. This is where creativity really shines, so have fun with it!
Nutritional Information
Each serving of your DIY Coffin Sandwiches contains:
- Calories: 250-300 (varies based on fillings)
- Protein: 15g
- Carbohydrates: 30g
- Fat: 10g
- Fiber: 4g
With a balance of protein, carbs, and vitamins from the vegetables, this recipe offers a nutritious option that will appeal to kids and parents alike!
Healthier Alternatives for the Recipe
- Instead of regular bread, opt for whole grain or sprouted bread.
- Swap out processed meats for grilled chicken or canned tuna for a healthier protein source.
- Utilize avocados as a spread instead of cream cheese for a nutritious fat alternative.
- Add extra hidden vegetables like spinach or shredded carrots to the fillings for added nutrients.
Serving Suggestions
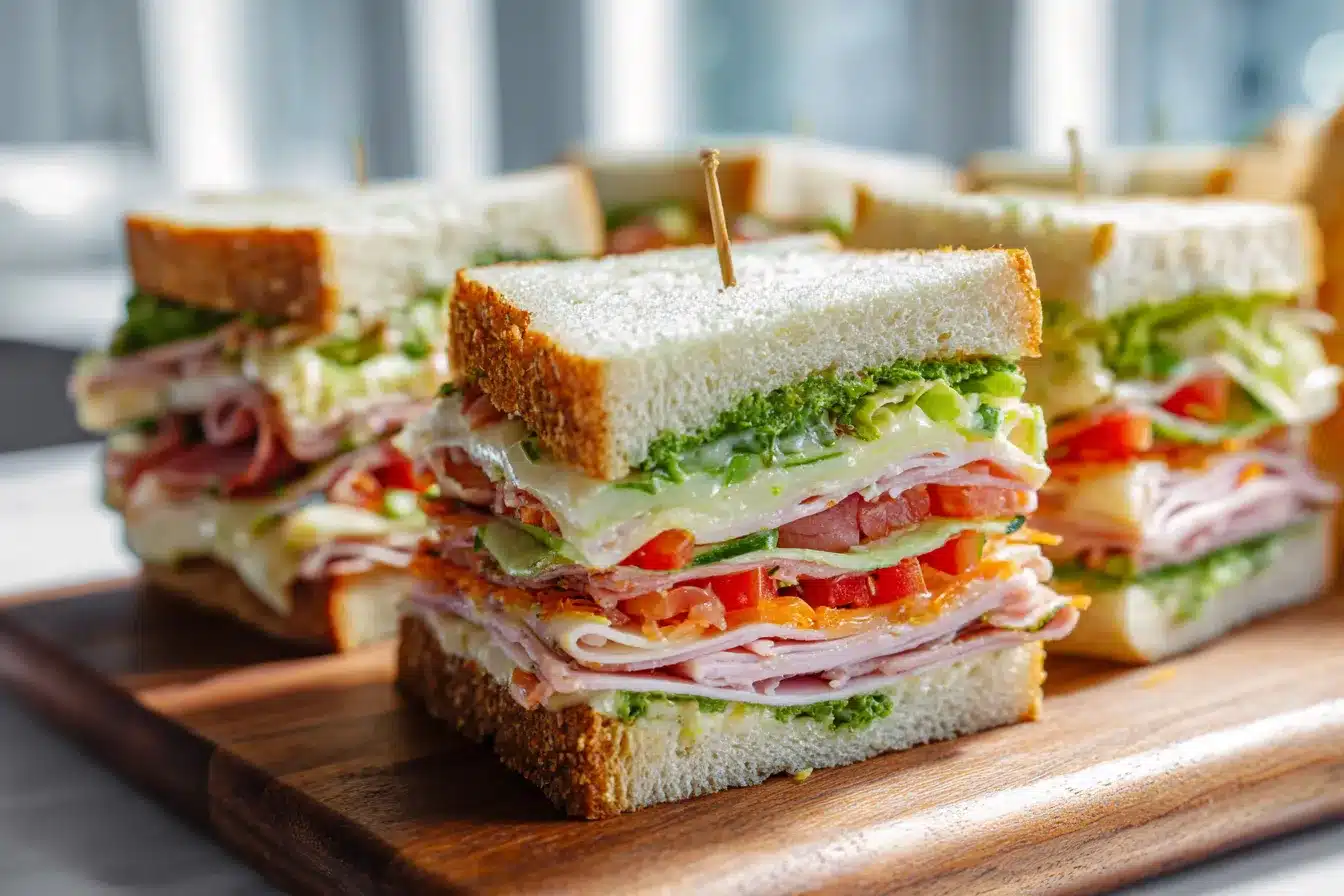
Serve your coffin sandwiches with a side of carrot sticks, apple slices, or a small portion of healthy dip, like hummus or yogurt. Kids will love taking part in decorating their meals, so consider placing out fun toppings so they can customize their sandwiches. You can even present them neatly on a themed platter to enhance the fun!
Common Mistakes to Avoid
- Overfilling: Avoid packing too many toppings; it can cause messiness when eating!
- Stale bread: Ensure your bread is fresh to enhance the flavor and texture.
- Skipping the spread: Don’t forget the spread; it adds essential moisture and flavor.

Storing Tips for the Recipe
To maintain freshness, wrap any leftover coffin sandwiches in plastic wrap or store them in an airtight container in the refrigerator for up to 2 days. If preparing ahead of time, consider assembling the sandwiches without the spread and adding it closer to serving time. This will prevent the bread from getting soggy.
Conclusion
The DIY Coffin Sandwiches are a fun and nutritious way to celebrate the spooky season, making mealtime exciting for kids. Try this engaging recipe, and feel free to share your thoughts in the comments below or subscribe for more delightful recipes!
FAQs
Can I make these sandwiches ahead of time?
Yes! You can prepare the sandwich components a day in advance, but it’s best to assemble them on the day you plan to serve to keep the bread fresh.
Are these sandwiches suitable for a school lunch?
Absolutely! Just make sure to keep them cool with an ice pack to maintain freshness until lunchtime.
What can I substitute for the bread for a gluten-free option?
You can use gluten-free bread or even large lettuce leaves as a wrap for a lower-carb alternative.
How can I get my kids to help with the preparation?
Encourage your kids to decorate the sandwiches and choose their fillings. This hands-on approach fosters creativity and makes them more excited to eat their creations!
Print
Thrilling DIY Coffin Sandwiches Kids Will Adore This Halloween
- Total Time: 30 minutes
- Yield: 4 servings 1x
Description
Create thrilling DIY coffin sandwiches that kids will adore Perfect for Halloween fun these tasty treats are sure to delight your little ghouls
Ingredients
Instructions
- Prep Time: 15 minutes
- Cook Time: 0 minutes
- Category: Lunch
- Method: No cooking required
- Cuisine: American
Nutrition
- Calories: 250-300 calories
- Sugar: Varies
- Fat: 10 grams
- Saturated Fat: 10 grams
- Carbohydrates: 30 grams
- Fiber: 4 grams
- Protein: 15 grams

